





Cakes & Cake Design
Torta nuziale di carta di riso
 Ricetta originale FunCakes
Have you seen the latest trend in the world of cake decorating? Rice paper is a real fashion! Combined on a cake with a wedding theme.
- Riposo
- 30 min
- Preparazione
- 2 h
- Cottura
- 35 min
- Totale
- 3 h 05
- Porzioni
- 16 - 18 people
Valori nutrizionali stimati per porzione · 585 kcal
Porzioni · 17
- Energia
- 585 kcal
- Grassi
- 28.9 g
- Saturi
- 17.8 g
- Carboidrati
- 77.2 g
- Zuccheri
- 62.2 g
- Fibre
- 0.5 g
- Proteine
- 4.1 g
- Sale
- 0.5 g

Il kit Patissland per questa ricetta
I prodotti usati in questa ricetta, disponibili nel nostro negozio.
Procedimento
-
Preheat the oven to 180 °C (convection oven 160 °C).
-
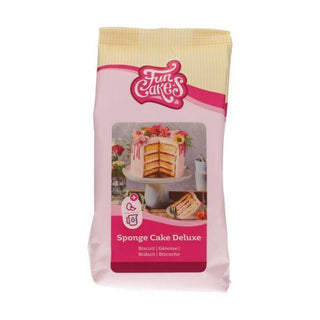
Prepare 400 g of FunCakes Deluxe Sponge Cake Mix according to the package instructions. Grease the pans with release spray, divide the sponge batter between the two pans and bake the cakes for about 30 to 35 minutes. Let cool on a rack. Tip! Your oven isn’t big enough to bake two sponges at once? No problem, you can perfectly bake one cake after the other. Just prepare the batters for the two cakes separately. If you let the batter rest too long before baking, it will lose its air. And that’s not what we want! For individual cake quantities, consult our quantity chart.
-
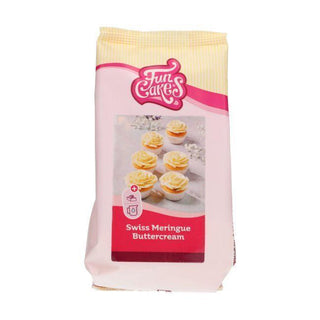
Prepare 200 g of FunCakes mix for Swiss Meringue Buttercream according to the package instructions.
-
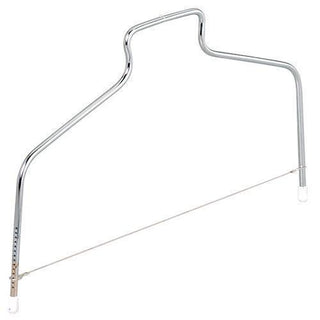
Cut each sponge twice with the cake leveler, fill and spread the Swiss meringue buttercream around. Let the cakes rest in the refrigerator for one hour.
-
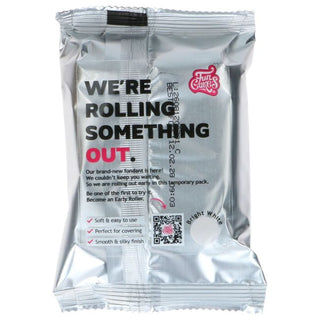
Knead the fondant well, roll it out to 2-3 mm thickness and cover the cakes. Assemble the cake using dowels cut to size and a cake board. Tip! Watch this video to learn how to cover a cake with fondant and this video to see how to stack a tiered cake.
-
For the rice paper, color the water with the FunColours pink gel and dip the rice paper sheets one by one into the water. Arrange the silicone mat in a fan shape and secure it with clamps. Drape the softened rice paper sheets over the formed folds and let them dry overnight.
-
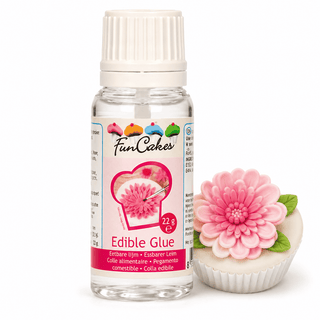
For the roses, color the modelling paste light pink with the FunColours gel. Cut the wire stems in half, form a small ball of modelling paste between your hands and attach it with edible glue to the wire stem. Let dry overnight.
-
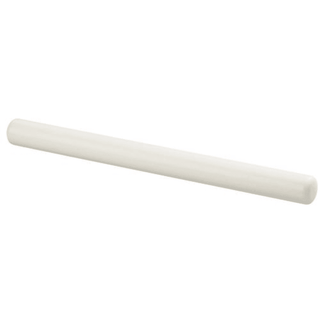
Roll out the modelling paste very thinly on cornstarch. It’s easier to work with small amounts and the small rolling pin. Cut flowers with the cutters and place them under plastic wrap to prevent drying.
-
Place the flowers on the foam pad and thin the edges with the bone tool. Cover the ball on the wire with glue and pierce the flower through the centre. Glue the leaves alternately against the ball with a little edible glue. Let dry in air for 30 minutes before attaching the second flower. For a large rose, add a third layer with a larger size after the first two layers.
-
Take a small flat brush and gently powder the edges of the flowers. Tip! Let the roses dry overnight to make powdering easier.
-
Make the swirls by wrapping a wire with gold ribbon and twisting it around the small rolling pin. Gently insert the rice paper into the cake, make a notch with a knife if necessary. Stick some flower stems into the cake here and there and position the roses and swirls on top.
-
Finish the cake neatly by gluing the gold ribbon all around the base.
Recensioni e commenti
- Sii il primo a recensire questa ricetta.