





Cakes & cake design
Spiderweb Cake
 Original FunCakes recipe
Do you want to make an impressive cake for Halloween? And do you want to scare everyone while having snacks during your Halloween party? Then go for this spiderweb cake. Spiders ready, set, go!
- Resting
- 1 h
- Prep
- 1 h 50
- Cook
- 35 min
- Total
- 3 h 25
- Servings
- 20 - 25 people
Estimated nutrition per serving · 410 kcal
Servings · 23
- Energy
- 410 kcal
- Fat
- 19.6 g
- Saturates
- 12.1 g
- Carbohydrate
- 55.2 g
- Sugars
- 50.5 g
- Fibre
- 0.3 g
- Protein
- 3.3 g
- Salt
- 0.2 g

The Patissland kit for this recipe
The products used in this recipe, available in our shop.




Steps
-
Knead the black fondant with a pinch of FunCakes Tylo powder to soften it and shape two large spiders. Use red nonpareils for the eyes. Assemble the spider with some edible glue and ideally let dry for two days.
-
Preheat the oven to 180°C (160°C convection mode).
-
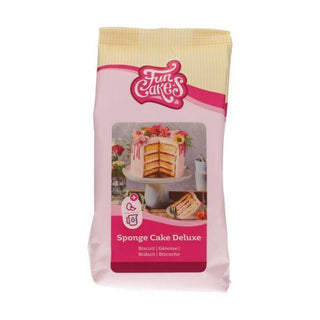
Prepare 400 g of FunCakes Deluxe sponge cake mix according to the package instructions. Grease the pans with baking spray and divide the batter between the two pans. Bake the biscuits for about 30-35 minutes, then immediately after baking, unmold them onto a cooling rack and let cool.
-
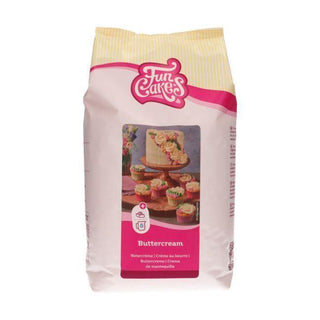
Prepare 300 g of FunCakes buttercream mix according to the package instructions and flavor to taste with the flavor paste.
-
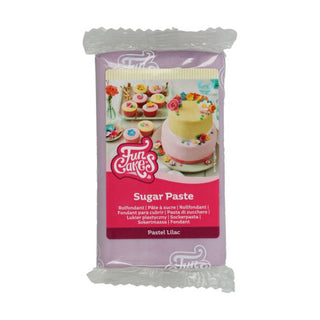
Cut each biscuit twice with the cake leveler. Fill them with jam of your choice and buttercream. Cover the entire cake with a thin layer of buttercream, let rest for half an hour in the refrigerator, then cover the cake with lavender fondant.
-
Stack the cakes, separating them with gold/silver cake boards and plastic dowels cut to size.
-
Place some large marshmallows in a microwave-safe bowl and melt them for about 30 seconds until melted.
-
Put on plastic gloves and take a spoonful of marshmallows between your hands. Stretch your hands apart several times to create 'threads'. Wrap these 'threads' around the cake, repeat until satisfied. Finish the cake with the large spiders.
Reviews and comments
- Be the first to review this recipe.