





Cakes & Cake Design
Princess Cake
 Original FunCakes recipe
Step into a fairy tale with this enchanting princess cake! Perfect for little princesses. Every bite feels like a magical celebration, making it an ideal choice for birthdays and special occasions. Unleash your creativity and learn to make this dazzling cake yourself.
- Prep
- 1 h 30
- Cook
- 35 min
- Total
- 2 h 05
- Servings
- More than 10 people
Estimated nutrition per serving · 320 kcal
Servings · 12
- Energy
- 320 kcal
- Fat
- 6.8 g
- Saturates
- 3.3 g
- Carbohydrate
- 51.1 g
- Sugars
- 40.9 g
- Fibre
- 1 g
- Protein
- 13.3 g
- Salt
- 0.3 g

The Patissland kit for this recipe
The products used in this recipe, available in our shop.
-
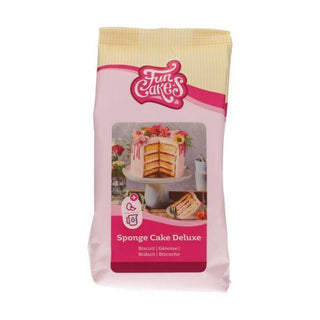 Deluxe Genoise Mix
€4,99
Add
-
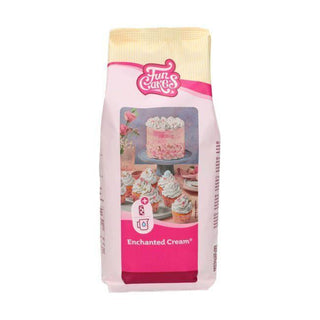 Mix for Enchanted Cream
€3,99
Add
-
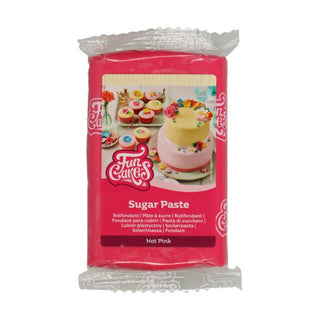 Sugar Paste - Hot Pink 250g
€2,99
-
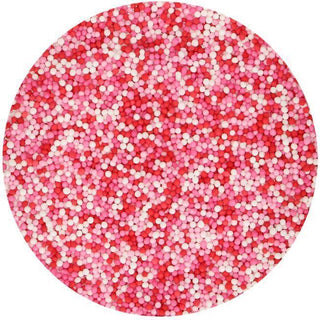 Mini Sugar Pearls Lots of Love
€2,99
-
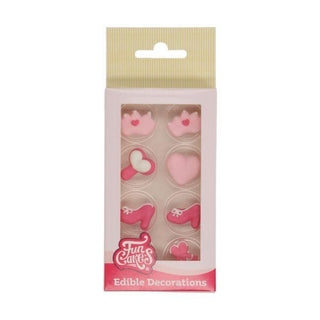 Sugar Decorations - Princess
€3,99
-
 Edible Glue (Integrated Brush)
€2,49
-
 10 Piping Bags - 30 / 41 / 46 cm
€2,49
Add
-
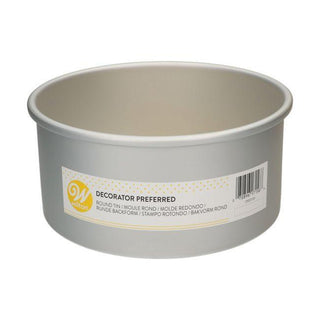 Cake Mould - Height 10cm
€11,99
Add
-
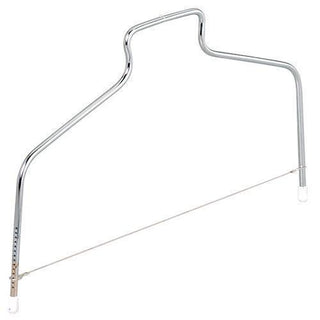 Cake Leveler / Sponge Cake Cutter - 25 cm
€4,99
-
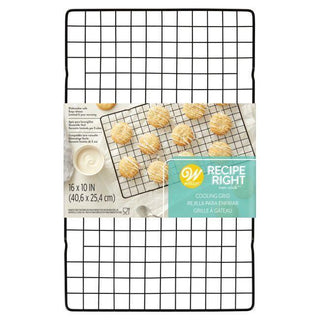 Non-Stick Cooling Rack
€6,99
-
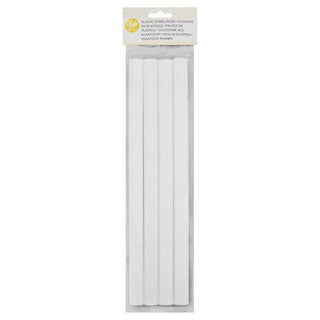 4 Dowels / Tiered Cake Support Rods 32cm
€3,69
-
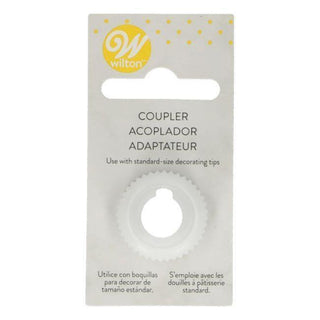 Piping Nozzle Adapter
€1,49
-
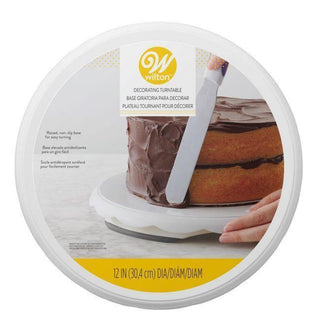 Rotating Turntable 30.4cm
€12,99
-
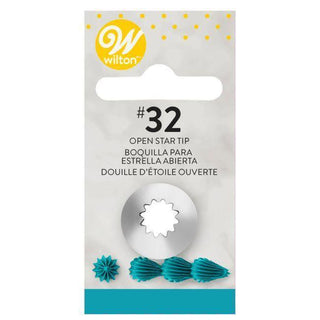 Open Star Piping Tip #32
€1,99
-
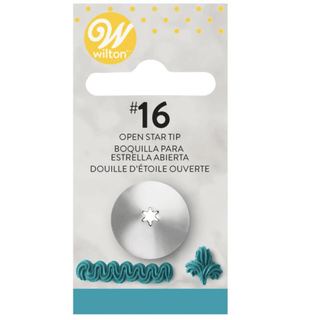 Star Piping Tip #16
€1,99
Steps
-
Make the crown 2 days ahead to allow it to dry thoroughly. To do this, knead the sugar paste evenly and roll it into an oval piece about 3 mm thick. Cut out a crown shape using a sharp knife. For shaping, wrap it around, for example, a lemonade bottle covered with cling film and fold the crown around it. Attach the ends together with some edible glue. Press the points in slightly. Once the crown is completely dry, carefully paint the edges of the points with the metallic paint.
-
Preheat the oven to 180°C (160°C for convection ovens) and grease the pans with release spray.
-
Prepare 400 g of FunCakes Deluxe Sponge Mix following the package instructions. Divide the batter between the two pans and bake the cakes for about 30-35 minutes until slightly golden and cooked through. Immediately after baking, invert them onto a cooling rack and let cool.
-
Prepare 180 g of FunCakes Enchanted Cream® Mix according to the package instructions, flavor with the paste flavoring, and tint lightly pink using the food coloring gel.
-
Cut the cakes with the 2x cake saw and fill them with jam and Enchanted Cream®. Start and finish stacking with a cake base. Between the two cakes, place a cake board cut to size and 3 wooden dowels cut to size. Cover the entire outside with a nice layer of light pink Enchanted Cream®.
-
Divide the remaining cream into 2 portions and color them into 2 darker shades of pink. Put these creams into piping bags fitted with an adapter and the No. 032 tips.
-
First decorate the cake with the nonpareils by flicking them from a distance. Then pipe several tufts with the 2 pink creams. Next, continue decorating with sticks, pearls, and sugar decorations.
-
Put the cream leftover in 1 piping bag fitted with a No. 016 tip. Place the crown on the cake and finish the lower edge with a small scalloped border.
Reviews and comments
- Be the first to review this recipe.