





Cakes & Cake Design
Lambeth Style Checkerboard Cake
 Original FunCakes recipe
This checkerboard Lambeth cake combines two pastry trends into one creation! Inside, you'll find a colorful checkerboard cake, while the outside is decorated with vintage-patterned Lambeth buttercream icing. This cake is perfect for birthdays, garden parties, and other summer celebrations.
- Prep
- 1 h 45
- Cook
- 0 min
- Total
- 1 h 45
- Servings
- More than 10 people
Estimated nutrition per serving · 1015 kcal
Servings · 12
- Energy
- 1015 kcal
- Fat
- 73.3 g
- Saturates
- 39.1 g
- Carbohydrate
- 72.8 g
- Sugars
- 51.5 g
- Fibre
- 2.5 g
- Protein
- 15.2 g
- Salt
- 0.7 g

The Patissland kit for this recipe
The products used in this recipe, available in our shop.
-
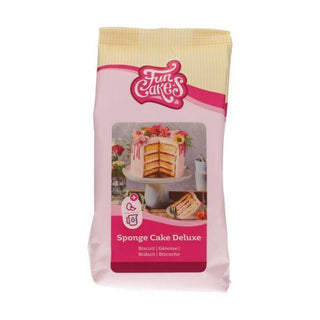 Deluxe Genoise Mix
€4,99
Add
-
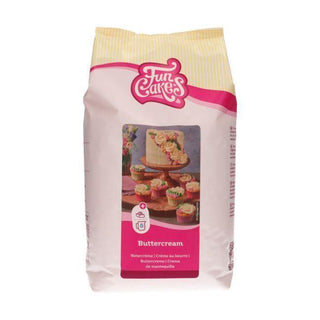 Buttercream Mix
€6,99
Add
-
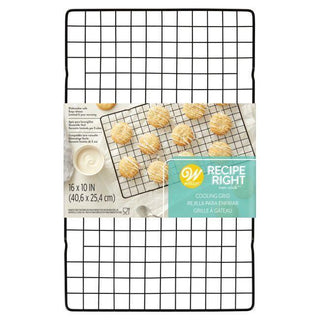 Non-Stick Cooling Rack
€6,99
-
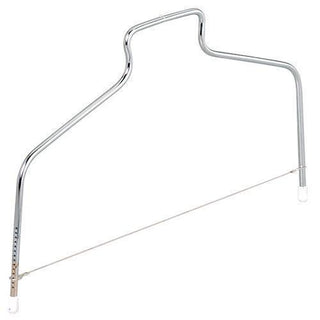 Cake Leveler / Sponge Cake Cutter - 25 cm
€4,99
-
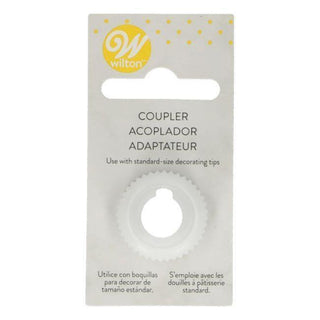 Piping Nozzle Adapter
€1,49
-
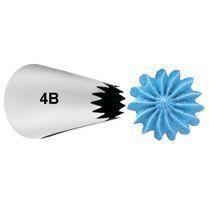 Closed Star Piping Tip #4B
€2,49
-
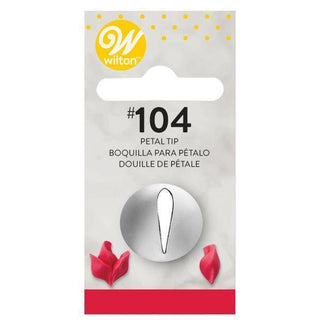 Flower Piping Tip #104
€1,99
-
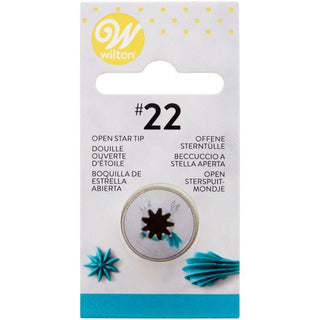 Star Piping Tip #22
€1,99
-
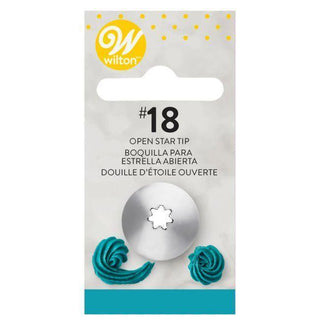 Star Piping Tip #18
€1,99
-
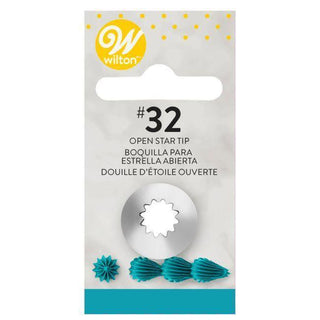 Open Star Piping Tip #32
€1,99
-
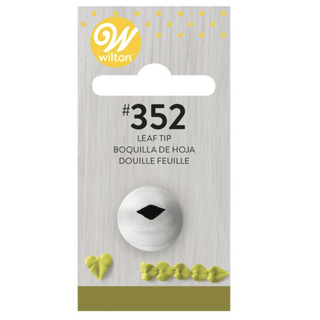 Leaf Socket #352
€2,49
Steps
-
Preheat the oven to 180°C (convection oven 160°C) and grease the pans with baking spray.
-
Prepare the FunCakes Deluxe Sponge Cake mix using 250 g of mix, 4 eggs and 25 ml of water per batch, as indicated on the packaging. Color three batches with FunCakes Pink Food Coloring Gel, each batch having a noticeably darker shade than the previous. Leave one batch uncolored. Bake the 4 sponge cakes for 30-35 minutes until fully cooked. Turn the cake onto a rack and let it cool completely.
-
Prepare 400 g of FunCakes buttercream mix as instructed on the packaging. Remove two small portions of buttercream from the bowl. Color one portion green and the other a very pale pink. Color the rest of the buttercream in deep dark pink.
-
Using a cake leveler, slice each sponge cake into three equal layers. For this cake, you will only use the middle layers of the four sponge cakes. Tip: Do not discard the cake scraps. Use them to make a delicious trifle or cake bowl with fresh fruit, Enchanted® flavored cream with flavor paste, chocolate, and your favorite toppings.
-
Cut 3 rings and 1 center out of each sponge cake layer using cookie cutters or cake rings of different sizes. Then, assemble the colored rings to create new cake layers by placing a ring of a different color inside each larger ring. Repeat for all layers. You should now have 4 multi-colored cake layers with a different pattern for each layer. For this cake, you will need three cookie cutters of 15 cm, 10 cm, and 5 cm. These sizes allow cutting three rings and a central circle. It is important that each cutter is 5 cm smaller than the previous one.
-
Spread a very thin layer of strawberry jam on a cake layer and place the next layer on top. Make sure that when stacking, two identical colors are not placed directly on each other. Spread a thin layer of jam between each layer.
-
Cover the entire cake with a thin layer of pink buttercream. The cake should still be visible through it. This is your crumb coat. Refrigerate for 30 minutes to firm up. Then apply a second layer of buttercream and chill again until firm.
-
Put the pale pink buttercream in a piping bag fitted with an adapter and nozzle no. 018. Pipe small rosettes onto a sheet of parchment paper and place them in the freezer until completely firm.
-
Fill a piping bag fitted with nozzle no. 104 with some deep dark pink buttercream. Pipe a ruffled border around the bottom edge of the cake. Hold the wide part of the nozzle against the cake and make gentle up-and-down motions. Then pipe a shell border above using nozzle no. 022.
-
Using nozzle no. 018, pipe garlands around the cake. Above them, pipe small stars with the same nozzle (no. 018). Pipe another ruffled border beneath the garlands with nozzle no. 104. Use nozzle no. 003 to add small drops under the garlands. Pipe a shell border where the garlands meet with nozzle no. 4B.
-
Use nozzle no. 104 to pipe a ruffled border around the top edge of the cake and finish with a shell border using nozzle no. 4B. Place the cake in the refrigerator and let it firm up completely.
-
Once the small rosettes are frozen, carefully peel them off the parchment paper. Attach them under the large shell that joins the garlands with a little buttercream. Pipe small leaves around the rosettes with green buttercream and nozzle no. 352. Work quickly, or the rosettes may melt from the heat of your fingers.
-
Store the cake in the refrigerator and take it out about 30 minutes before serving.
Reviews and comments
- Be the first to review this recipe.