





Cakes & Cake Design
Kawaii Rainbow Cake
 Original FunCakes recipe
Let yourself be enchanted by the magic of the Kawaii Rainbow Cake, the perfect dessert for your next party or celebration! Discover delicious kawaii dessert recipes and get inspired by our decorating tips for rainbow cakes. With its vibrant layers, enchanted cream, and adorable kawaii figurine decoration, this dessert is sure to be a hit.
- Resting
- 1 h
- Prep
- 45 min
- Cook
- 25 min
- Total
- 2 h 10
- Servings
- 6 persons
Estimated nutrition per serving · 810 kcal
Servings · 6
- Energy
- 810 kcal
- Fat
- 40.3 g
- Saturates
- 19.7 g
- Carbohydrate
- 99 g
- Sugars
- 44.3 g
- Fibre
- 2.9 g
- Protein
- 10.8 g
- Salt
- 0.6 g

The Patissland kit for this recipe
The products used in this recipe, available in our shop.

Steps
-
Prepare 500 g of FunCakes Cookie & Crust Mix according to the package instructions. Wrap in cling film and let rest in the refrigerator for one hour.
-
Preheat the oven to 180°C (160°C for convection oven).
-
Roll out the dough into a disk about 8 mm thick and place the baking frame on top, pressing lightly. Place the dough with the frame on a baking sheet lined with parchment paper.
-
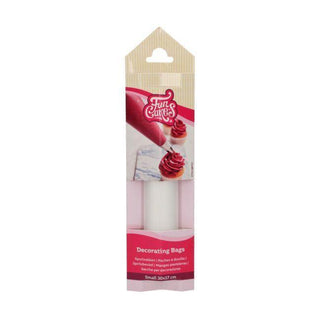
Mix 250 g marzipan with 1 egg and put this mixture into a piping bag fitted with the No. 1M tip. Pipe a spiral zigzag pattern onto the dough. Bake the cookie & crust for about 20 to 25 minutes until golden brown. Remove the frame once completely cooled.
-
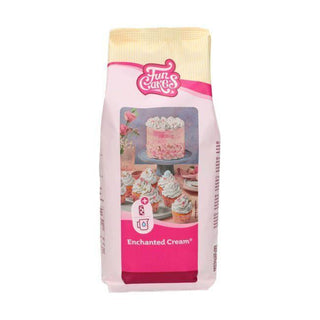
Prepare 150 g of FunCakes Enchanted Cream Mix according to the package instructions and divide the cream into as many bowls as the number of desired colors. We used 5 colors. Lay a sheet of cling film on the work surface and spread the colored creams side by side lengthwise. Roll the film onto itself and tie a knot at one end to prevent the cream from escaping. Cut the other end into the cream and place this end into a piping bag fitted with the No. 1M tip.
-
For decoration, you can create a kawaii figurine. Check out our blog for this: How to Make Kawaii Figurines.
Reviews and comments
- Be the first to review this recipe.