





Treats
Kawaii Milkshake
 Original FunCakes recipe
Ready to treat yourself with a drinkable work of art? Get ready to shake things up with our Kawaii Milkshake! Top it with a delicious donut and a kawaii figurine to add an extra touch of sweetness and cuteness to your milkshake. And let's be honest, who can resist a donut on anything?
- Prep
- 2 h
- Cook
- 5 min
- Total
- 2 h 05
- Servings
- More than 8 people
Estimated nutrition per serving · 505 kcal
Servings · 8
- Energy
- 505 kcal
- Fat
- 18.2 g
- Saturates
- 7.3 g
- Carbohydrate
- 79.7 g
- Sugars
- 51.6 g
- Fibre
- 1.9 g
- Protein
- 5 g
- Salt
- 0 g

The Patissland kit for this recipe
The products used in this recipe, available in our shop.

Steps
-
Prepare 500 g FunCakes donut mix according to the package instructions. Roll out the dough to 5 mm thickness and cut donut shapes with the cutter. Place them on a plate lined with baking paper and cover with a clean cloth. Let rest for 25 minutes.
-
Heat the pan to 180 °C and fry the donuts in batches of 3 for about 2-3 minutes until lightly golden. Pour caster sugar on a plate and dip the donuts directly into it. Let them cool on paper towels.
-
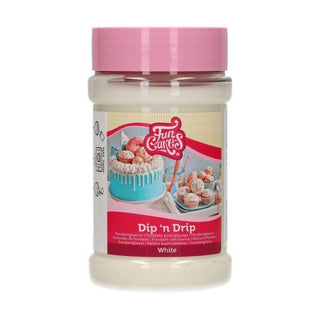
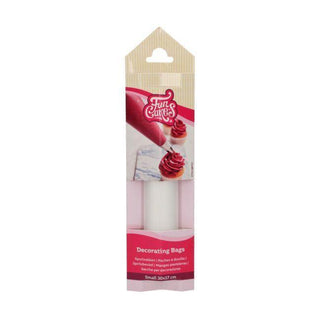
Divide the 375 g FunCakes Dip ‘n Drip into 4 bowls and color each with the 4 FunCakes food gel colors. If necessary, microwave for 10-15 seconds to get a more fluid texture, then place in a piping bag. Cut a small tip off the bag and cover the donuts with a layer of colored Dip ‘n Drip. Immediately sprinkle with FunCakes pastel sugar strands.
-
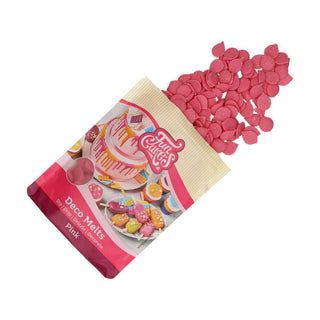
Melt some FunCakes Deco Melts Pink according to the package instructions and put it into a piping bag. Cut a small tip and decorate the inside of a large glass or transparent mug by making drips. Let harden for 5 minutes in the refrigerator.
-
Fill the glass with the yogurt drink (or chocolate milk), place a donut on top, decorate with a kawaii modeling clay figurine if you wish, and insert a straw. Want to add a sculpted figurine? Check out our blog “how to: kawaii modeling clay figurines.”
Reviews and comments
- Be the first to review this recipe.