





Biscuits & Cookies
Happy Easter Cookies
 Original FunCakes recipe
Make something extra sweet for Easter with our delicious cookie recipe! Let your creativity run wild with royal icing, bright colors, and typical Easter shapes like hens and flowers.
- Resting
- 24 h
- Prep
- 2 h
- Cook
- 15 min
- Total
- 26 h 15
- Servings
- more than 10 people
Estimated nutrition per serving · 615 kcal
Servings · 12
- Energy
- 615 kcal
- Fat
- 15.6 g
- Saturates
- 8.9 g
- Carbohydrate
- 114.9 g
- Sugars
- 95.2 g
- Fibre
- 0.8 g
- Protein
- 3.3 g
- Salt
- 0.3 g

The Patissland kit for this recipe
The products used in this recipe, available in our shop.
Steps
-
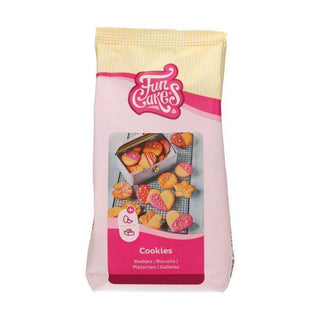
Prepare 500 g of FunCakes cookie mix as directed on the package and let rest in the refrigerator for at least one hour.
-
Preheat the oven to 180°C (convection oven 160°C).
-
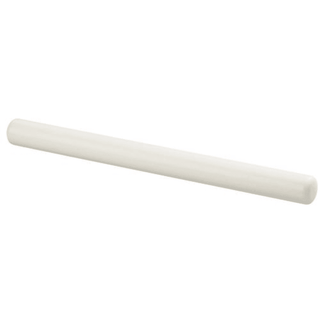
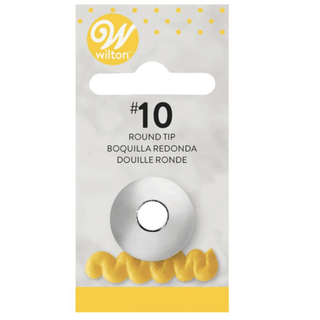
Knead the dough taken from the refrigerator and roll it out on a floured surface to about 2-3 mm thickness, then cut out hens and flowers. Using the no. 010 piping tip, make a hole and place them on a baking tray lined with baking paper. Bake the cookies for about 10-15 minutes until they are lightly golden, then let them cool on the work surface. TIP! Make sure your dough is not too warm before baking as it may spread a bit. You can refrigerate the tray with the cut-out cookies for 15 minutes and then bake immediately for the best results.
-
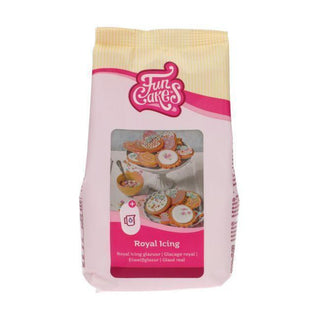
Prepare 450 g of FunCakes royal icing mix as directed on the package and divide it into as many bowls as the number of colors you want. Then dilute each bowl with a little water until you get a yogurt-like consistency. TIP: The 10-second rule is important. When you pour the icing from your spoon into the bowl, it should form a smooth mirror again after 10 seconds. If this happens faster, your icing is too runny and will drip off your cookie; add a bit more firm icing to thicken it. If it takes longer than 10 seconds, it is too thick; add a few drops of water.
-
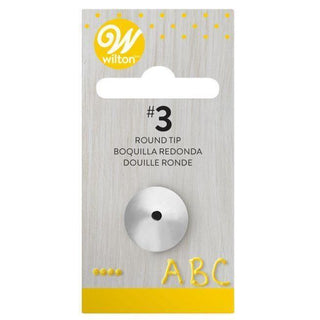
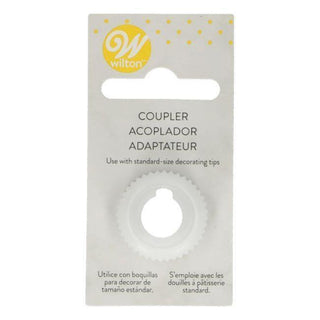
Now color the fluid icing and leave the bowls under a damp cloth for about 20 minutes. This will allow air bubbles to rise to the surface. Next, remove these bubbles by mixing and place the icing in a piping bag fitted with the adapter and no. 003 tip. Decorate the cookies with icing as you like. Let them air dry overnight. Note: If you put the icing into the piping bag immediately after coloring, the bubbles on your cookie will burst and create unsightly holes.
-
Knead the fondant until pliable and roll it out thinly. Cut out white hens and colorful flowers and stick them onto the cookies with a little decorating gel. For the white hens, decorate them with the food markers.
Reviews and comments
- Be the first to review this recipe.