





Cakes & cake design
Christmas Drip Cake
 Original FunCakes recipe
Merry Christmas to all bakers and food lovers! If you want to celebrate Christmas properly, make this Christmas drip cake; it's so delicious. No one will be able to stop eating!
- Resting
- 6 h 30
- Prep
- 45 min
- Cook
- 2 h 05
- Total
- 9 h 20
- Servings
- 16 - 24 people
Estimated nutrition per serving · 630 kcal
Servings · 20
- Energy
- 630 kcal
- Fat
- 27.6 g
- Saturates
- 12.2 g
- Carbohydrate
- 86.9 g
- Sugars
- 69 g
- Fibre
- 2.2 g
- Protein
- 7.7 g
- Salt
- 0.6 g

The Patissland kit for this recipe
The products used in this recipe, available in our shop.
-
 Mix for Red Velvet Cake - 500g
€6,99
-
 Gingerbread Mix (Honey Spice Cake) - 500g
€5,99
-
 Gluten-Free Macaron Mix - 300g
€5,99
-
 Buttercream Mix
€6,99
Add
-
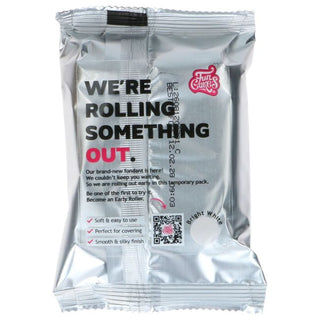 Sugar Paste - Bright White 250g
€2,99
-
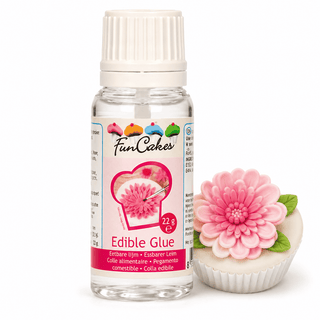 Edible Glue (Integrated Brush)
€2,49
-
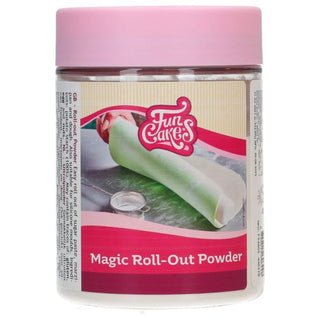 Magic Roll Out Powder
€3,99
-
 Nonstick Rolling Pin - 50cm
€24,99
-
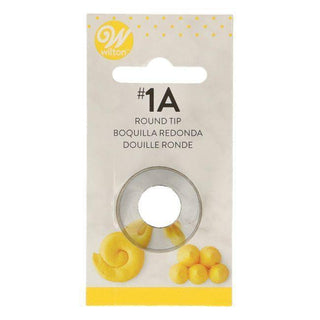 Round Piping Tip #1A
€1,99
-
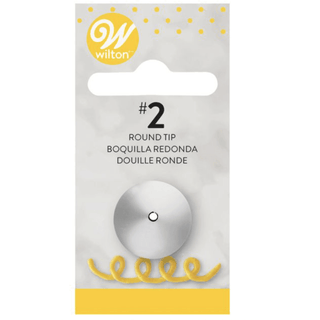 Writing Piping Tip #2
€1,99
Steps
-
Preheat the oven to 180°C (convection oven 160°C).
-
Prepare 500 grams of FunCakes Gingerbread mix according to the package instructions. Wrap the dough in plastic wrap and place it in the refrigerator for at least 1 hour. Remove the cookie dough from the refrigerator, knead it, then roll it out on a surface dusted with magic rolling powder to about 3 mm thickness. Cut out gingerbread men, place them on a baking sheet lined with parchment paper, and bake for about 12 minutes. Let them cool on a rack. Tip! You only need a few cookies for the cake, so you can decorate the remaining cookies or freeze the extra dough.
-
Reduce the oven temperature to 130°C (convection oven 110°C).
-
Prepare 300 grams of FunCakes Macaron mix according to package instructions. Color the dough white using the white coloring. Fill a piping bag with the mix, cut off the tip, and pipe circles on the macaron mat. Let dry for 2 hours, then bake the macarons for about 15 minutes. Tip! Only a few macarons are needed for this recipe, so you can enjoy the remaining ones.
-
Preheat the oven to 175°C (fan oven 160°C).
-
Prepare 600 grams of FunCakes Red Velvet Cake mix according to package instructions. Divide the batter between the two cake pans and bake for 30 to 35 minutes. Cool immediately after baking on a rack.
-
Reduce the oven temperature to 100°C (convection oven 90°C).
-
Mix 10 grams of egg white powder with 60 ml of water in a bowl and stir. Beat the powder at high speed until a white foam forms, then add 70 grams of sugar. Add a bit more sugar and beat until stiff peaks form that do not collapse. Divide into two portions and color one red and the other green. Stir without fully blending to create a marbled effect. Fill a piping bag fitted with tip No.1M with the green mixture and pipe swirls onto a baking sheet lined with parchment paper. Fill another piping bag fitted with tip No.1A with the red mixture and pipe small circles on the sheet. Let them dry in the preheated oven for 1 ½ hours. Let cool after baking. Tip! You don't have to use all the macarons for this cake, so you can enjoy the leftovers yourself.
-
Prepare 200 grams of FunCakes Buttercream mix according to package directions. Add mascarpone flavor to taste. Cut each cake in half and layer the four layers, spreading a layer of buttercream between each. Also cover the outside of the cake with the buttercream and refrigerate to set.
-
Fill a piping bag with tip No. 2 and some white buttercream, and decorate the gingerbread cookies.
-
Color the remaining buttercream red and fill a piping bag. With a brush, paint a bit of green paint onto the macarons. Fill one half of a macaron with the buttercream and place the other half on top. Keep refrigerated until use.
-
Knead well 600 grams of fondant, roll it out on a work surface dusted with magic rolling powder, and cover the cake. Remove excess. Roll out the remaining fondant and cut out snowflakes of various sizes.
-
Heat about half a jar of red Dip ‘n Drip in the microwave (no more than 10 seconds!) and pour it into a piping bag. Cut a small tip and create drips along the edges of the cake, occasionally letting them drip down. Fill the top of the cake with the red drip and smooth with a spatula.
-
Finally, decorate the cake with the cookies, meringues, snowflakes, and macarons. Sprinkle some golden stars for the finishing touch.
Reviews and comments
- Be the first to review this recipe.