





Biscuits & Cookies
Christmas Cookies
 Original FunCakes recipe
All you need for Christmas is these amazing delicious gingerbread cookies! Spread the holiday cheer with these cookies and Ho Ho Ho Merry Christmas! Don’t forget to share the joy of these cookies with your friends and family.
- Resting
- 1 h
- Prep
- 3 h
- Cook
- 15 min
- Total
- 4 h 15
- Servings
- 25 - 30 people
Estimated nutrition per serving · 220 kcal
Servings · 28
- Energy
- 220 kcal
- Fat
- 2.8 g
- Saturates
- 1.4 g
- Carbohydrate
- 46.6 g
- Sugars
- 37.8 g
- Fibre
- 0.7 g
- Protein
- 1.2 g
- Salt
- 0.1 g

The Patissland kit for this recipe
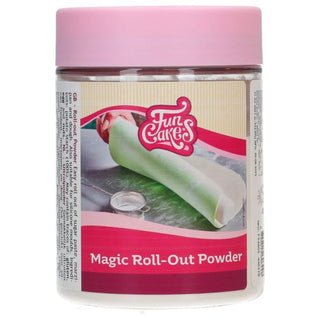
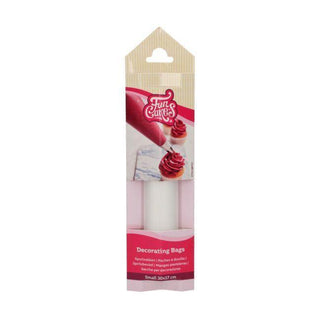
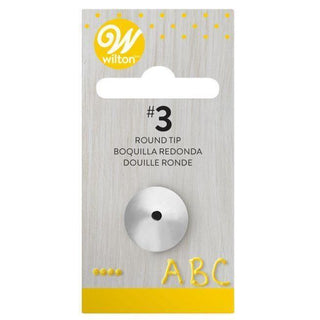
The products used in this recipe, available in our shop.
Steps
-
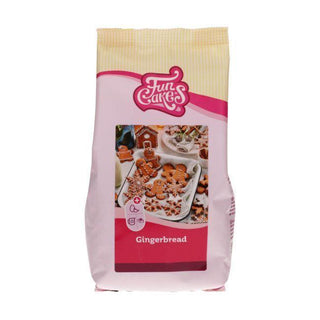
Prepare 500 g of FunCakes Gingerbread Mix according to the instructions on the packaging, wrap in cling film and place in the refrigerator for at least 1 hour.
-
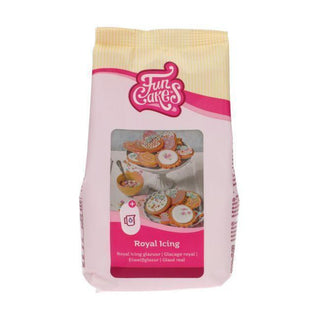
Prepare 450 g of FunCakes Royal Icing Mix according to the instructions on the packaging. Thin the royal icing with one tablespoon of water and let it rest under a damp cloth to prevent it from drying out.
-
Preheat the oven to 180°C (convection oven 160°C).
-
Knead the dough taken out of the refrigerator until smooth, then roll it out to about 2 mm thickness on a work surface sprinkled with rolling powder. Cut out different shapes of various sizes. Place the cookies on a baking sheet covered with parchment paper and bake in the preheated oven for 10-12 minutes, then let cool on the work surface.
-
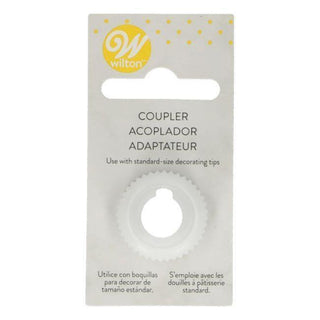
Divide the royal icing into 3 portions and color two of them red and green with the food gel coloring. Leave 1 portion white. Place the three colors of royal icing into a piping bag with an adapter and No. 3 tip. Decorate different cookies as you wish with the royal icing and glitter.
-
Spread some decorating gel on several cookies and, to cover the cookies with fondant, use the same cookie cutter as for the cookies. Decorate the cookies as you like with royal icing, sugar decorations, and glitter.
-
With the FunCakes Golden Ginger Edible Icing Sugar, you can dust several cookies with gold using a brush and, if needed, continue decorating them with royal icing.
Reviews and comments
- Be the first to review this recipe.