





Cookies & Biscuits
Back-to-School Cookies
 Original FunCakes recipe
And it's time for back-to-school! A lovely treat is a must-have in your lunch or break. A cookie always remains a delightful indulgence, especially for the first days of school to please everyone.
- Resting
- 1 h
- Cook
- 12 min
- Total
- 1 h 12
- Servings
- 15 servings
Estimated nutrition per serving · 280 kcal
Servings · 15
- Energy
- 280 kcal
- Fat
- 3.3 g
- Saturates
- 0.8 g
- Carbohydrate
- 58.3 g
- Sugars
- 45 g
- Fibre
- 1 g
- Protein
- 3.5 g
- Salt
- 0.4 g

The Patissland kit for this recipe
The products used in this recipe, available in our shop.
Steps
-
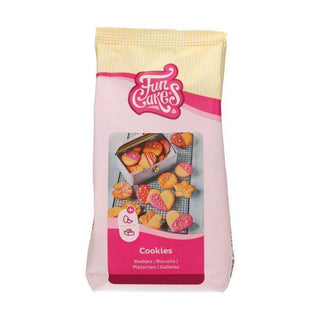
Prepare the FunCakes cookie mix as indicated on the package, wrap it in plastic wrap, and let it rest in the refrigerator for at least one hour.
-
Preheat the oven to 180 °C (160 °C convection).
-
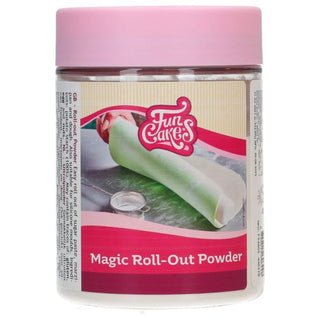
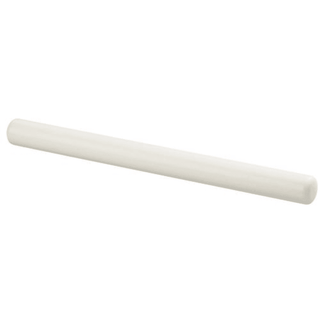
Sprinkle Magic powder for rolling out on your work surface, take the dough out of the fridge and knead it until smooth. Roll it out to about 2 mm thickness and cut various shapes with the cookie cutters of your choice. Place them on a baking tray lined with baking paper and bake the cookies for 10-12 minutes until golden. Let cool on a wire rack.
-
Place 500 g powdered sugar, 15 g egg white powder, and 60 ml water in a mixing bowl and whisk for 8 minutes at the lowest speed with the flat beater until a firm white mass forms. Divide it into as many bowls as needed for colors. In each bowl, thin the icing with a little water to a yogurt-like consistency. Add water drop by drop to maintain the right texture. If not using the icing immediately, cover the bowls with a damp cloth to prevent drying.
-
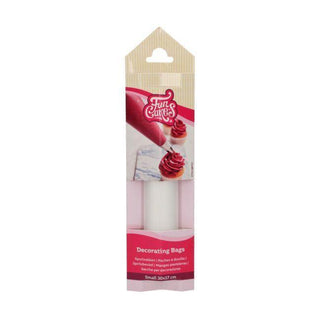
Insert the adapters into the piping bags and place tip № 2 on top. Push a piece of the bag into the adapter to prevent leaks and fill with colored icings. Carefully trace a line of icing along the cookie edges, then fill them in. Using the needle tool, push the icing into all corners to create a smooth surface. Let dry for at least a few hours. Then fix sugar decorations on the cookies with a little icing and add details with the edible brush pens.
Reviews and comments
- Be the first to review this recipe.