





Cakes & Cake Design
Alpaca Cake
 Original FunCakes recipe
How cute and trendy this alpaca cake is! It is not difficult to make at all and you also have a centerpiece on the table!
- Resting
- 2 h
- Prep
- 1 h 45
- Cook
- 35 min
- Total
- 4 h 20
- Servings
- 24 - 28 people
Estimated nutrition per serving · 385 kcal
Servings · 26
- Energy
- 385 kcal
- Fat
- 23.2 g
- Saturates
- 13.9 g
- Carbohydrate
- 39.5 g
- Sugars
- 34 g
- Fibre
- 0.6 g
- Protein
- 3.9 g
- Salt
- 0.2 g

The Patissland kit for this recipe
The products used in this recipe, available in our shop.
-
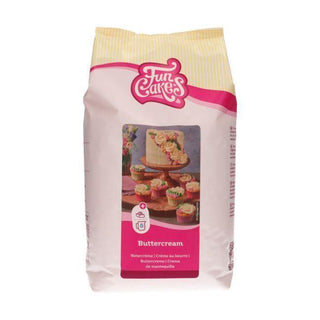 Buttercream Mix
€6,99
Add
-
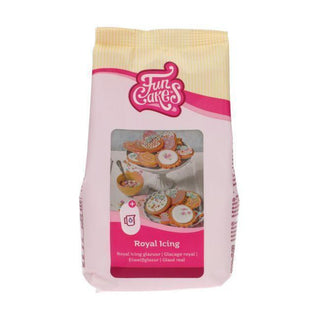 Mix for Royal Icing
€5,99
Add
-
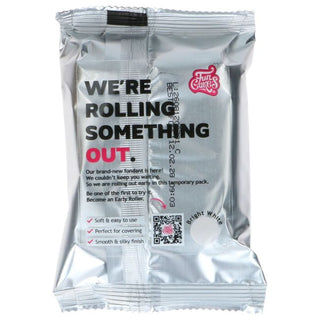 Sugar Paste - Bright White 250g
€2,99
-
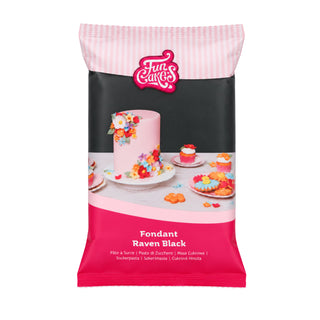 Rolled Fondant - Raven Black 1kg
€9,99
-
 10 Piping Bags - 30 / 41 / 46 cm
€2,49
Add
-
 Edible Glue (Integrated Brush)
€2,49
-
 Magic Roll Out Powder
€3,99
-
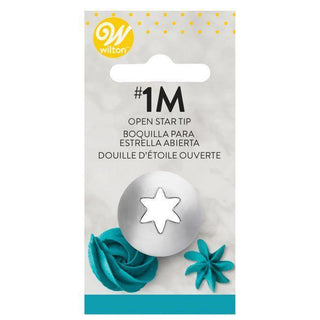 Star Piping Tip #1M
€2,69
-
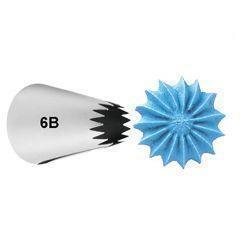 Closed Star Piping Tip #6B
€2,49
-
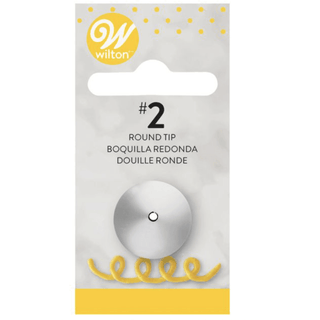 Writing Piping Tip #2
€1,99
Steps
-
Preheat the oven to 180 °C (convection oven 160 °C).
-
Prepare 500 g of FunCakes sponge mix according to package instructions. Grease the pans with release spray and pour in the cake batter. Bake the cakes for 30-35 minutes. After baking, remove the cakes from the pans onto a cooling rack and let cool completely.
-
Prepare 400 g of FunCakes buttercream mix according to package instructions. Flavor the buttercream with whipped cream flavor paste.
-
Cut the cakes in half with a cake leveler and fill with a thin layer of buttercream and jam. Then reassemble the cakes by stacking them. Color part of the buttercream light brown with gel coloring and spread this buttercream all around the bottom cake; it does not need to be neat.
-
Color the remaining buttercream pale pink. Divide this buttercream into 2 piping bags, one fitted with tip no. 1M and the other with no. 6B. Stack the two cakes on top of each other.
-
Color 150 g of sugar paste beige with brown gel color, roll out on a work surface dusted with magic rolling powder, cut an oval shape with a knife for the face and attach it to the 15 cm cake. Use the two different piping tips to create swirls and rosettes around the face as shown in the photo.
-
Color a small piece of sugar paste light and dark pink and the rest pale green; reserve about 10 g of white sugar paste for the pupils. Cut small flowers from the pink sugar paste.
-
Roll out the green sugar paste to 3 mm thickness, place a piece of cling film on top and cut circles and ovals of different sizes, these will be the cacti. Remove a piece of sugar paste in places from the ovals so that another oval can fit into them and glue them against the bottom cake.
-
Roll out a piece of pink and beige sugar paste, which can remain thick, cut two ovals of different sizes for the ears, glue them together then fix them vertically on the head.
-
Roll out the black sugar paste thinly and cut two circles for the eyes. Then roll out the white sugar paste very thinly and cut two ovals and two small circles with the FMM face cutter; stick them onto the black circles. Draw a nose with the food pen and place the eyes in their correct position.
-
Glue the flowers onto the cacti. Fill a piping bag fitted with tip no. 2 with a little royal icing and make the cactus spines by making small spikes.
Reviews and comments
- Be the first to review this recipe.